提取3GPP LTE/5GNR中RRC的ASN.1

本文介绍了如何从 3GPP 36.331 或者 38.331 中提取出 RRC 中的 ASN.1 部分抽象描述内容。
ASN.1 标准简介
在电信和计算机网络领域,ASN.1(Abstract Syntax Notation One) 是一套标准,是描述数据、编码、传输、解码的灵活的抽象语义记法。它提供了一套正式、无歧义和精确的规则以描述独立于特定计算机硬件的对象结构。
ASN.1 标准下载
描述ASN.1记法的标准:
ITU-T Rec. X.680 | ISO/IEC 8824-1
ITU-T Rec. X.681 | ISO/IEC 8824-2
ITU-T Rec. X.682 | ISO/IEC 8824-3
ITU-T Rec. X.683 | ISO/IEC 8824-4
描述ASN.1编码规则的标准
- ITU-T Rec. X.690 | ISO/IEC 8825-1 (BER, CER and DER)
- ITU-T Rec. X.691 | ISO/IEC 8825-2 (PER)
- ITU-T Rec. X.692 | ISO/IEC 8825-3 (ECN)
- ITU-T Rec. X.693 | ISO/IEC 8825-4 (XER)
关于 ASN.1的标准,可以在 ISO/ITU-T 中找到关于本部分标准的链接,打开 http://www.itu.int/ITU-T/recommendations/index.aspx 在 search 栏输入 x.680~x.683 或 x.690 可以查看到 ASN.1 的具体标准及编解码的方法,或者从 http://www.itu.int/ITU-T/studygroups/com17/languages/ 获得相关文档
![]()
![]()


范例
FooProtocol 结构的定义系使用 ASN.1 表示法:
1 | FooProtocol DEFINITIONS ::= BEGIN |
ASN.1没有定义的谈话流动。 这是协议的文本描述。
假设消息,符合与foo的协议将被发送到接收方。这种特定的消息(PDU):
1 | myQuestion FooQuestion ::= { |
要通过网络发送上述消息,需要编码成位元字串(string of bits)。ASN.1定义了不同的算法来完成这项任务,被称为编码规则。有很多,最简单的一个是DER.
Foo协议规范应明确名称一套编码规则的使用,Foo的协议,使用者 知道他们应该使用哪一个。
下载3GPP协议
打开https://www.3gpp.org/ftp/Specs/archive
比如下载 38.331

5G NR 的无线资源控制(RRC)协议是 38.331
LTE 的无线资源控制(RRC)协议是 36.331
协议中的 ASN.1 描述长这个样子 😎

当然你可以手动复制粘贴出来,但是这样效率低下,浪费时间。因此推荐使用工具或者自己用代码来提取。具体方法请继续往下看哦 🌱
转换工具下载
在 https://github.com/Dybinx/txt2asn1 中下载 txt2asn1


开始转换为 ASN.1
下载好 38.331或者36.331,在 word 中打开协议,选择另存为,将其保存为 TXT 格式。

在 txt2asn1 所在的路径下打开终端,输入:
1 | txt2asn1.exe 待转换txt文件路径 |
就能转换得到 ASN1文件了。
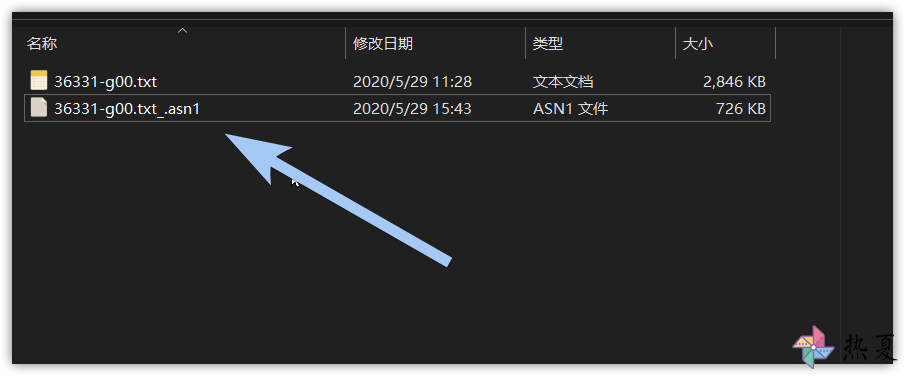
比如我输入:
1 | txt2asn1.exe 36331-g00.txt |
就能获得 36331-g00.asn1 文件了。

在 VS Code 打开生成的文件看一看 ,效果美滋滋 🍦

推荐在 VS Code 中安装 ASN.1 VS Code Extension ,格式化后的 ASN.1 即美观又方便查看。
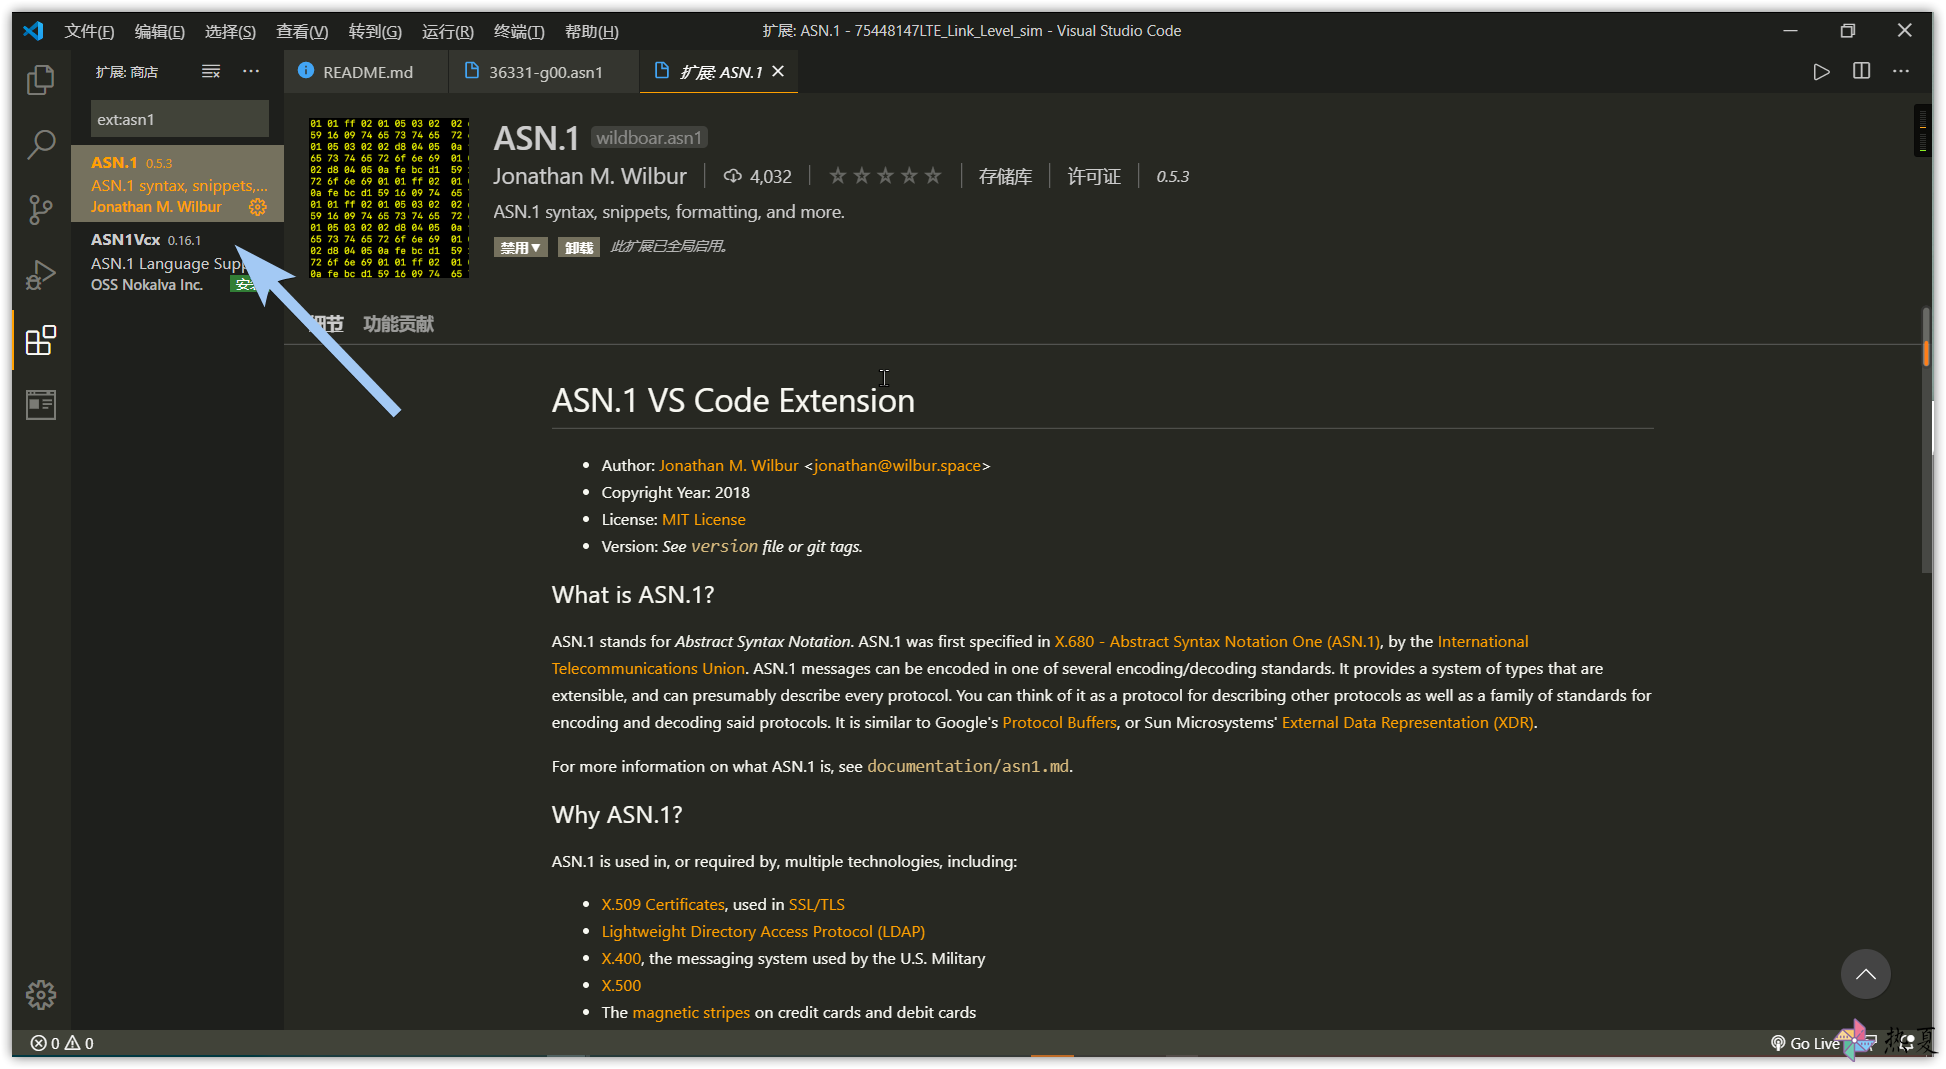
阅读过程中,可以按住 Ctrl 然后点击鼠标左键,就能实现在一些配置信息之间跳转。

转换ASN.1-方式二
新建一个 C++ 项目 ,在 main.cpp 中粘贴如下的代码。注意把 input_file 的路径改一下。代码来自 peng_yw 。
1 |
|
当然可以把输入参数那里不要固定死,弄成一个输入参数的程序,这样在命令行中使用的话也会很方便的。
编译项目后运行,然后就会在 input_file 的路径下产生一个后缀为 .asn1的文件。
利用开源ASN1C库实现asn.1的编解码,生成C代码
在 http://lionet.info/asn1c/download.html 中下载 Windows installer ,然后安装。
关于详细的使用方式可以在项目地址中查看到:https://github.com/vlm/asn1c 。关于这个编译器的详细的文档在 doc / asn1c-usage.pdf 中。

快速使用
在安装编译器(请参阅 INSTALL.md)之后,您可以使用 asn1c 命令编译 ASN. 1规范:
1 | asn1c <module.asn1> # Compile module |
如果多个规范包含相互依赖关系,则必须同时指定所有规范:
1 | asn1c <module1.asn1> <module2.asn1> ... # Compile interdependent modules |
实际测试
在 samples 文件夹下有 ASN.1 示例文件,就让我来测试一下吧。


输入以下命令行
1 | asn1c -P ./samples/rfc3280-*.asn1 |
在本例中,-P选项用于在标准输出上打印编译后的文本。 默认行为是asn1c编译器为在指定ASN.1模块中找到的每个ASN.1类型创建多个.c和.h文件。
这样就打印出来了:

在使用说明 asn1c-usage.pdf 中有其他使用的示例。

比如输入:
1 | asn1c ./samples/rfc3280-*.asn1 |

编译成功,可以看到已经产生了很多的 .c 、 .h 文件。

《小池》
杨万里
泉眼无声惜细流,树阴照水爱晴柔。
小荷才露尖尖角,早有蜻蜓立上头。🍉